When I was first asked to create a children's game, I thought:
«Okay, that sounds fun. But where do I even start?»
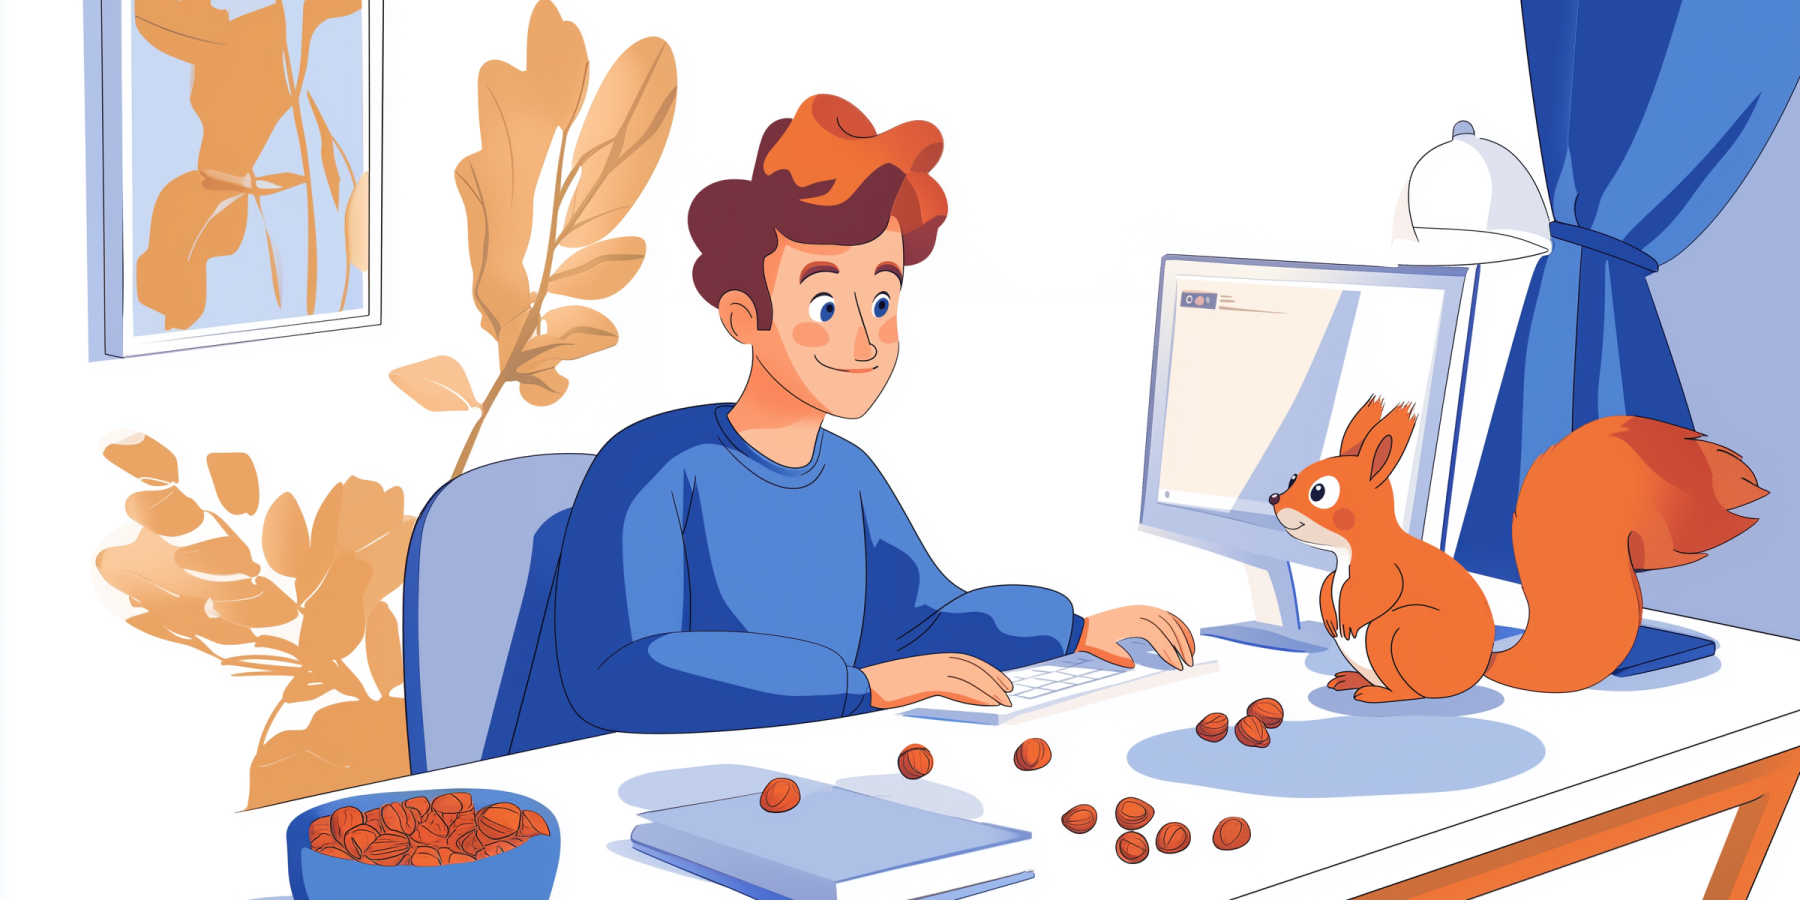
That's how my first experience with PhaserJS, a JavaScript game development framework, began. I found myself in an unexpected world where letters fall from the sky and squirrels catch them on the fly. And to be honest, it was pretty exciting.
My name is Anton, I'm a web developer with three years of experience, mostly working with Angular. Until now, I never even thought about trying my hand at gamemade from scratch. In this article I will tell you how it all started, what difficulties I encountered and why this experience became an important step in my professional growth.
I was approached by a customer with an idea for a game — it was necessary to create a children's online game for browser and mobile devices for a children's website. The goal — entertaining and educational elements that will help children learn letters. At the same time, the game should be dynamic, bright and visually pleasing to keep the child's attention.
On paper, the task looked simple. But when it came to implementation, we had to think through everything down to the last detail — from the logic of the gameplay to the reaction to errors.
Next, I'll tell you what the basic scenario that needed to be implemented looked like.
This gameplay was simple but interesting enough to develop children's attention, reaction and letter recognition.
The project was simple in concept, but implementation required immersion in a new stack for me. Before this project I had never worked with PhaserJS, so my immersion into the new framework started with studying the documentation and active correspondence with ChatGPT.
PhaserJS is a JavaScript framework for creating 2D games directly in the browser. It's great for simple games, especially educational and mobile games. It works fast even on weak devices because it uses WebGL and Canvas.
To be honest, the official PhaserJS documentation is a real treasure of information, but at the same time a challenge for a beginner. It's detailed, even too detailed in some places: it's hard to understand at once which sections you really need, and which ones you can skip for now.
I've been looking in pieces:
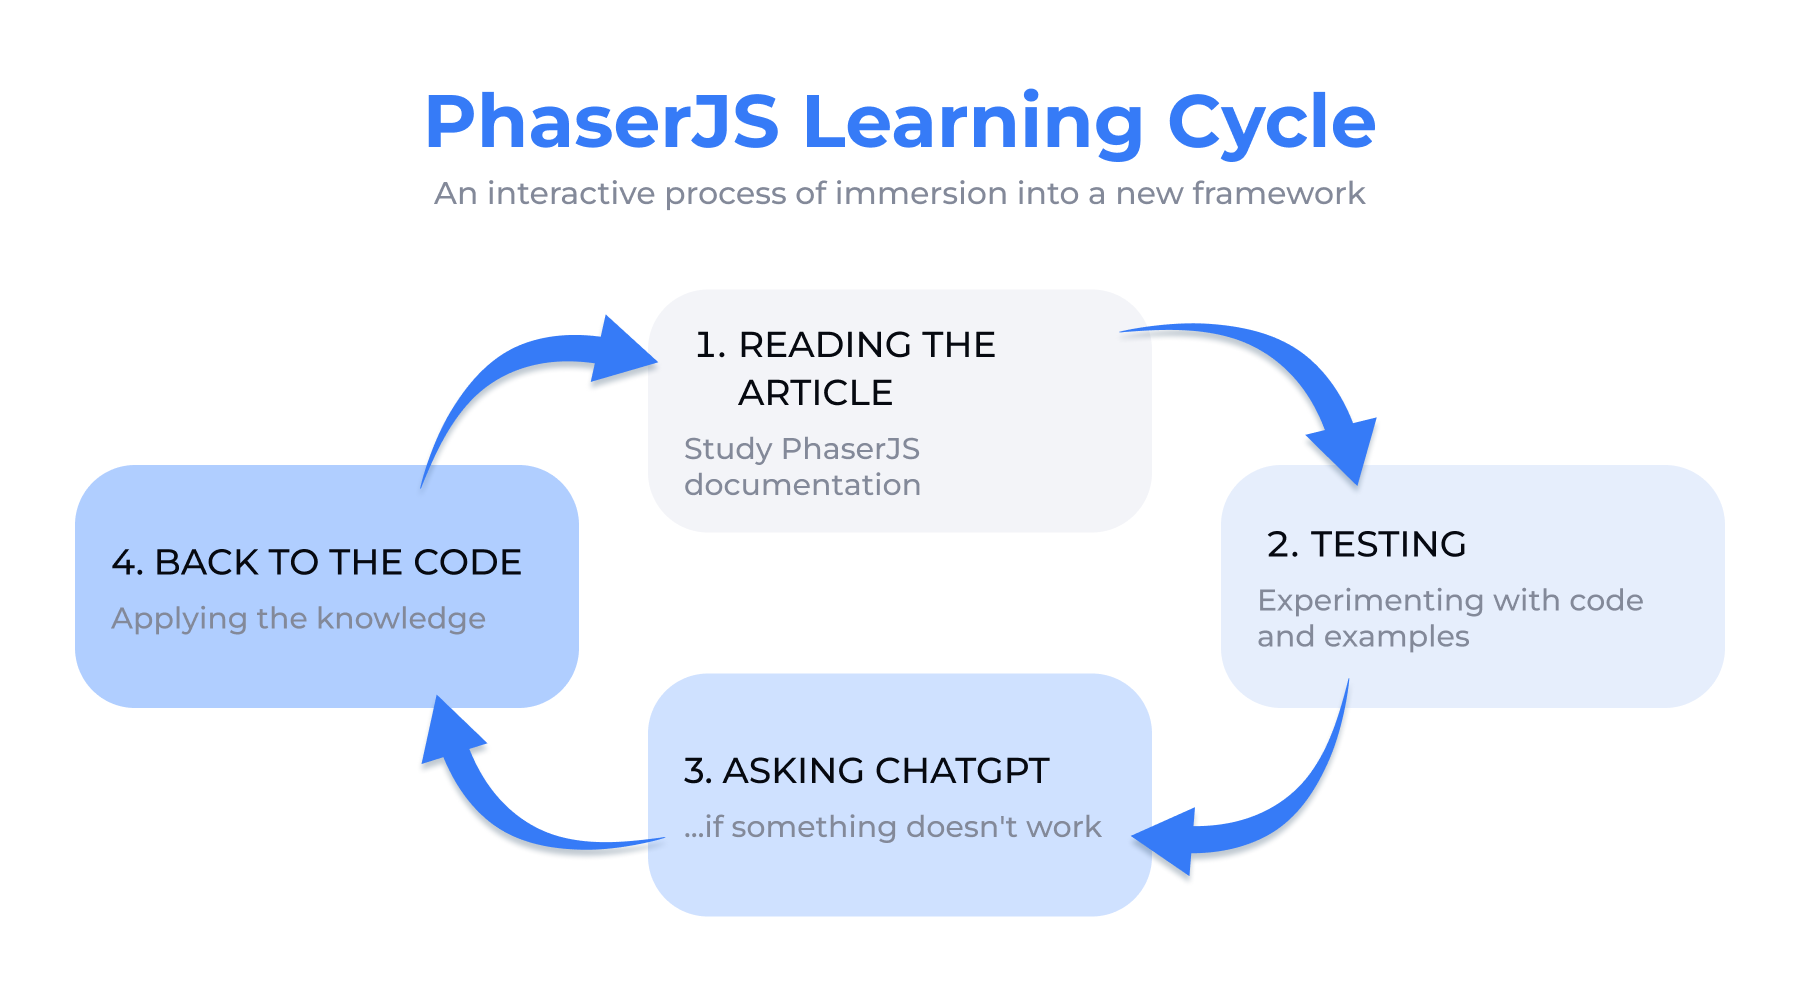
My typical requests to ChatGPT looked like this:
«How to make an object fall down in Phaser?»
«How to implement a collision between a squirrel and a letter?»
«How to add a life counter to the top corner?»
And in response I received not only code samples, but also explanations of what was responsible for what. It helped a lot not just to copy and paste, but to understand the logic of the engine.
A few of the PhaserJS features really hit the spot — especially from the perspective of a web developer used to frameworks like Angular.
|
Feature |
Description |
|
Scenes are like game controllers |
Phaser uses a scene architecture: each part of the game (menu, level, pause) is implemented as a separate scene. Within each scene, there are three main methods: • • • At first it's hard to figure out where to write what, but then the structure becomes logical and familiar. |
|
Simple but powerful physics |
Phaser Arcade Physics allows you to quickly connect the physics of objects. For example: |
|
Real-time event processing |
In Phaser, the logic of the game lives in the method |
This stage was both the most difficult and the most interesting — because this is where the real «infusion» into the gameplay began. The first time you see your squirrel move and catch a falling letter, it's magic.
If you're just getting started with Phaser — here are some tips that could save you nerves, coffee, and hours of debugging.
1. Start with a project template. It's better not to build everything by hand — get a ready-made Phaser template from GitHub (e.g. Webpack or Vite). This will help you get started faster and not get distracted by the builder configuration.
2. First, one scene, then scale it up. Break the game into scenes (menu, game, result) only after you've fine-tuned the basic mechanics. Otherwise you may get confused.
3. Write in simple blocks. Functions like spawnLetter(), checkCollision(), updateScore() will make the code understandable. Don't write all the logic in update() — you'll get lost quickly.
4. Use Phaser physics, not manually. Gravity and collisions «out of the box» work great. Don't reinvent the bicycle — Phaser Arcade Physics covers 90% of the needs of simple games.
5. Read not only the documentation, but also the examples. There are a huge number of live open source demos at phaser.io/examples. Sometimes it is easier to adapt an example than to read the description in the documentation.
6. Update the screen in update() — but wisely. Don't put everything in there. Timers, counters, checks and animations — yes. Object generation or heavy logic — better in separate functions.
The visual part of the project is a pleasure in its own right. The client provided ready-made illustrations: squirrels, backgrounds, drop objects and interface elements. My task was to integrate them correctly into the game scene and add basic interactivity.
Here's what went into the visual realization.
|
Element |
What was done |
|
Background and characters |
The illustrations were connected as sprites. Squirrel got animation of left/right movements. |
|
Control buttons |
Added two-way control + sound button. Work on both desktop and mobile. |
|
UI-indicators |
The number of lives, score and difficulty level are displayed. Located at the top of the screen. |
|
Start/pause screen |
The start screen with the «Play» button and brief rules is implemented. In case of loss — «End of game» message. |
|
Fonts |
I used custom Google Fonts for Cyrillic — it was a bit of a hassle. Some fonts were not displayed, so I had to experiment with bitmap and web fonts. |
Here's how I went from idea to finished result. These steps will be suitable for those who want to create a children's game or just understand how to make a 2D game from scratch:
Problem statement and design
Project and environment customization
Development of basic mechanics
Graphics and interface integration
Adding logic and adapting to devices
Testing and publishing
Conduct software testing — test the game on different devices, build the final version and upload it to the right platform.
Despite the visual pleasure, the realization of some things required effort. For example, I encountered unexpected difficulties when working with collisions: it was not easy to keep track of which object was caught and to react correctly to the event — to award points or take a life.
The next problem was mobile control. On the desktop everything worked fine via the keyboard, but on cell phones we had to add large touch-buttons — arrows on the screen to make it convenient for the child to play with his fingers.
Adapting the interface for different screens was a real challenge. Buttons should be large enough, elements should not overlap each other, everything should be displayed correctly on screens with different pixel density. This required manual adjustment of sizes, indents and testing on different devices.

I increased the difficulty of the gameplay manually: every 10 letters caught, the speed of falling objects was accelerated. A simple idea, but one that requires fine-tuning to keep the game fun but not too difficult.
Animation of the squirrel's movement was not so simple either: it was necessary to adjust the frames and change rate correctly to make it look smooth. And, strange as it may seem, we had to work with fonts too — especially with Cyrillic alphabet, which is absent in standard bitmap fonts.
Through such complexities is where the real understanding of how to make a JavaScript game that actually works comes in.
The whole project took about two weeks. The experience was great — not only did I get to know PhaserJS, but also immersed myself in the gamedev approach to development: working with game loops, UI for kids, adaptation for mobile devices, animations and visuals.
Although PhaserJS was a new tool for me, it turned out to be quite friendly. Its architecture is easy to understand, especially if you have already worked with component frameworks like Angular. And Phaser scenes are very similar to controllers: preload, create, update — a familiar structure.
If you are a Frontend developer and want to try your hand at creating JavaScript games, Phaser is a great fit. It doesn't require deep knowledge of game development, but it allows you to feel like a real game developer. The main thing is not to be afraid to try things out. And helpers like ChatGPT really help to save time when you need to quickly understand an unfamiliar topic.
A frontend developer is a specialist who deals with Frontend development of web applications, i.e. everything the user sees and interacts with in the browser. He works with HTML, CSS and JavaScript, as well as frameworks like Angular, React or Vue. Its job is to make a website or app not only beautiful, but also user-friendly, fast and adaptive for different devices.
Depends on the complexity, but a basic game can be built in 2 weeks. It is important not to try to do everything at once — start with the core and add features step by step.